


(To take the virtual tour, please log into your Grubhub Corporate account first)
Before uploading employees in bulk, you’ll first need to create your group. Once you have the Group Name, you are ready to bulk upload.
- Log into corporate.grubhub.com. In the top right corner, click the person icon and select Business Account.
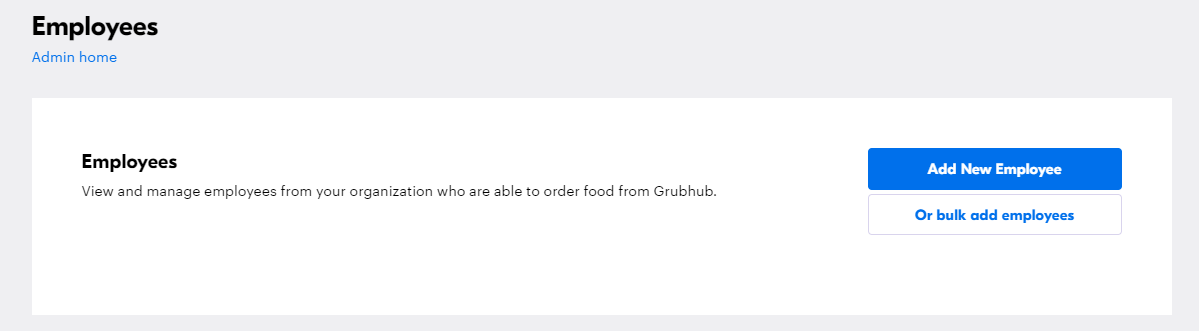
- Select Employees from the Employees & Groups dropdown. Select the white Or bulk add employees button.
- Download the “CSV template” and begin to build your list.

- Remove dummy information from Row 2 then enter the First Name, Last Name, Email, and Phone Number in Columns A, B, C & D respectively. Columns A-D are required.
- If you have the user’s phone number, you can include it in Column D. If not, you may leave this field blank and update at a later time. Phone numbers cannot be a toll-free 800 or non USA number.
- Column E is titled Group. While this field is optional, employees must belong to a group in order to receive a meal credit and the Group name must match exactly to how the group name appears in your business account, with the same characters, spacing and casing. To separate groups, use a comma (no spaces).
- Please note: If no Group is assigned, your employee(s) will not be associated with a Group in your business account and therefore will not be able to access a Meal Credit. Groups are created under the Employees & Groups dropdown and must exist before adding employees to them via CSV.
- Column F is titled Employee ID. This is a free text field that you can use to filter & analyze data later when looking at your invoice and past orders. A few examples of what you could include in this column are team name, internal ID, etc.
- Column G is titled Location and is an optional field, but the header is still required for the upload to be successful. If the organization is invoiced by location, this field is required. If no location is assigned, your employee(s) location information will be blank in your business account. Locations are created under Company Details and must exist before adding employees to them via CSV. The Location Name must be entered exactly as how the location name appears, with the same characters, spacing and casing, in the business account. You may only enter one Location value for each row in the CSV (meaning an employee cannot be assigned to multiple locations).
- Columns H and I are titled Department and Sub Department, respectively. Both fields are optional but the header is still required for the upload to be successful. If the organization is invoiced by department, this field is required. If no department is assigned, your employee(s) will fall into an “unassigned” department.
- Departments are created under Company Details and must exist before adding employees to them via CSV. Enter either the Department Name. The Department Name must be entered exactly as how the department name appears, with the same characters, spacing and casing as how it is spelled in your business account.
- Column J indicates if a diner has allocation ordering enabled. This column may not be applicable if you don’t have the allocation feature enabled for your account. Allocation permission allows one user to place a single order for a group of fellow employees and allocate from each employee’s line of credit or allocate against multiple expense codes.
- This field can be left blank, but the header is required or the upload to be successful.
- Column K is how you can Bulk Delete these users. To do this, you include the word Yes for each user you would like to delete. When originally adding these users, this field should be blank.
- Save the completed form. IMPORTANT – Make sure this is saved as a CSV file.
- Select Browse to locate the file you just saved. Once selected, choose Upload CSV at the bottom of the page. NOTE: If you encounter any errors while uploading your CSV, please refer to the bottom of this article for troubleshooting.

- Now that the users have been added to the Group you created, you will want to assign the appropriate meal credit. Select Meal credit settings found at the top of the page and click Add meal credit. You can find more information on creating meal credits here.
- After saving the meal credit, you will need to assign it to the group that was previously built. Choose the group to attach the meal credit to and define the budget amount. Click Save at the bottom of the page.

If you have any questions or issues ordering, please reach out to our Corporate Admin Support team for assistance via phone: (844) 478-2249 option 3 or email: [email protected]
Troubleshoot Common Bulk Upload Errors
- File has not been saved as a .CSV
- Error message “Incorrect email format” – Fix by ensuring there is no space after the email address on the CSV template.
- Error message “Last name is required” – Fix by adding the last name of the user in the highlighted row to the appropriate column on the EIS. First name, Last name, Phone number, and Email are all required for upload.
- Error message “Group is required” – Fix by adding the user in the highlighted row to a group that you created on the account. Users must be assigned to a group on the EIS.
- Error message “Phone number is invalid” – Fix by adding an accurate phone number or dummy phone number, such as 999-999-9999, for the user in the highlighted row to the appropriate column on the EIS. Dummy phone numbers starting with ‘555’ or toll free numbers such as those starting with ‘888’ won’t work in upload. Phone numbers containing 800 or fake area codes also won’t work.
- If allocations are turned on for an account, the “Allocations Permitted” field only works if it is left blank which would default to allow allocations for a user, or with a “yes” or “no” answer – “y” or “n” will not work.
- Headers (row 1) has been deleted or edited. All headers must stay in order for the upload to be successful.
- One or more of the columns has been deleted
- Code begins with a hyphen (-); add an apostrophe (‘) to the beginning of the code to rectify


