


We want to ensure that you have a full understanding of what to expect at every step of the journey when beginning a Self-Service Account from before signup through the signup process and post signup completion.
What to expect and consider prior to sign up:
- Make sure that Self-Service Accounts is the right choice for you. Grubhub Corporate also offers an Enterprise Account. The differences between the two accounts can be found here.
- If Self-Service is the right choice for you, make sure you understand that when you complete the 5 step signup process, you will become the admin of your Self-Service Account.
- Other items to be aware of when signing up are:
- As the admin, you can choose who is added to your account as the diners who will use the line of credit that you will create.
- You decide how much money to provide to the diners on your account.
- You understand that your credit card will get charged each time an order is placed by a user on your account. Note: Self-Service Accounts does not offer invoicing. If you do require invoicing, then you will need to sign up for an Enterprise Account.
- You will be charged a 6% transaction fee per order for only the portion funded by the line of credit.
- After you finish the 5 step signup funnel, your account will be created and you will have access to a Management portal to manage your account on an ongoing basis.
During the signup process, keep in mind that:
- You can add users to your account during the signup process or you can skip that step during signup and add them later once your account is created.
- However, if you skip the step to add people, you need to add people later in the Management portal and then associate the people added to a line of credit.
- IMPORTANT: If you do not associate users to a line of credit (LOC), no one will have access to the budget EVEN IF you added them to your account. You MUST associate users to a line of credit for them to be able to start spending. To associate users to an LOC: upload users first and then click on the “LOC” page in the Management portal. click on the > sign on the specific LOC you want to add people to, then click “add people”.
- When uploading users, you must upload the file as a .csv only; a .xls file will be rejected.
- If you’re unsure of someone’s phone number, simply add a dummy number like 123-456-7890 that the user can later change.
- You are also able to upload a user whose email address is already associated with a Grubhub account, regardless of if it is a corporate or personal account.
- While we ask for a credit card upfront, you will not be charged right away. You will only be charged when a user on your account places an order. This means you may receive multiple credit card charges to your card on the day(s) your LOC is available to use. It simply depends on when users on your account place orders.
- If you have set up your LOC to begin in the future, diners can place preorders using their future budget. For example, if today is 5/6, and your LOC begins on 5/10, then diners who place orders today through 5/9 will not be able to use their LOC. However, diners who place preorders for 5/10 will be able to access the LOC since it is a preorder in the eligible time window of when the LOC is available.
After the signup process:
- Call your bank and give them a heads up that your credit card will experience higher than usual activity so they don’t block these transactions. If transactions are blocked by your bank, your diners’ orders will fail.
- Make sure you know how to navigate to your management portal. Bookmark the page you are directed to after you click “submit” in the signup funnel. This is your management portal through which you will manage your account. If you do lose this link, log into grubhub.com and click on your name, then click on Business account. This will send you to your Management portal.
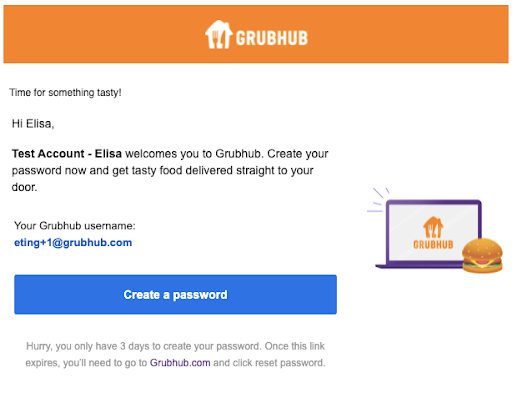
- Everyone that you’ve added to your account during signup will receive a welcome email asking them to set their password to access Grubhub.com. This email will be sent within 24 hours of account creation and will be sent directly to the diners. If you get reports of users not receiving their welcome email, first ask them to check if it’s been sent to their spam folder. If they still do not see it, you can go to your Management portal and click on the “mail” icon next to the user’s name to manually retrigger a welcome email.
- You are able to add additional LOCs or edit LOCs, add or remove users, or change credit cards — all within your Management portal.
- There is a detailed FAQ at the footer of the Management tool if you have questions.
Instructions for Diners after being added to a Self-Service Account:
- You only need to input your own credit card info if your order exceeds the line of credit (LOC) amount that you have been provided.
- You can see how much your LOC is if you access the site via desktop or mobile web during the time period that the LOC is available to be used. For example, if the LOC starts on 5/7 and today is 5/6, you will not see the LOC banner on the homepage today (5/6). But on 5/7, the LOC banner will appear on the homepage and at checkout. Please note: If you access Grubhub on your phone via our app, then your LOC budget amount will not be visible until the very last page of checkout.
- If you didn’t receive a welcome email, go to grubhub.com and click on “forgot password”. Enter the exact email address that the admin used to upload you to the account. Reset your password; you will now have access to the Grubhub account and your LOC when it becomes available.


